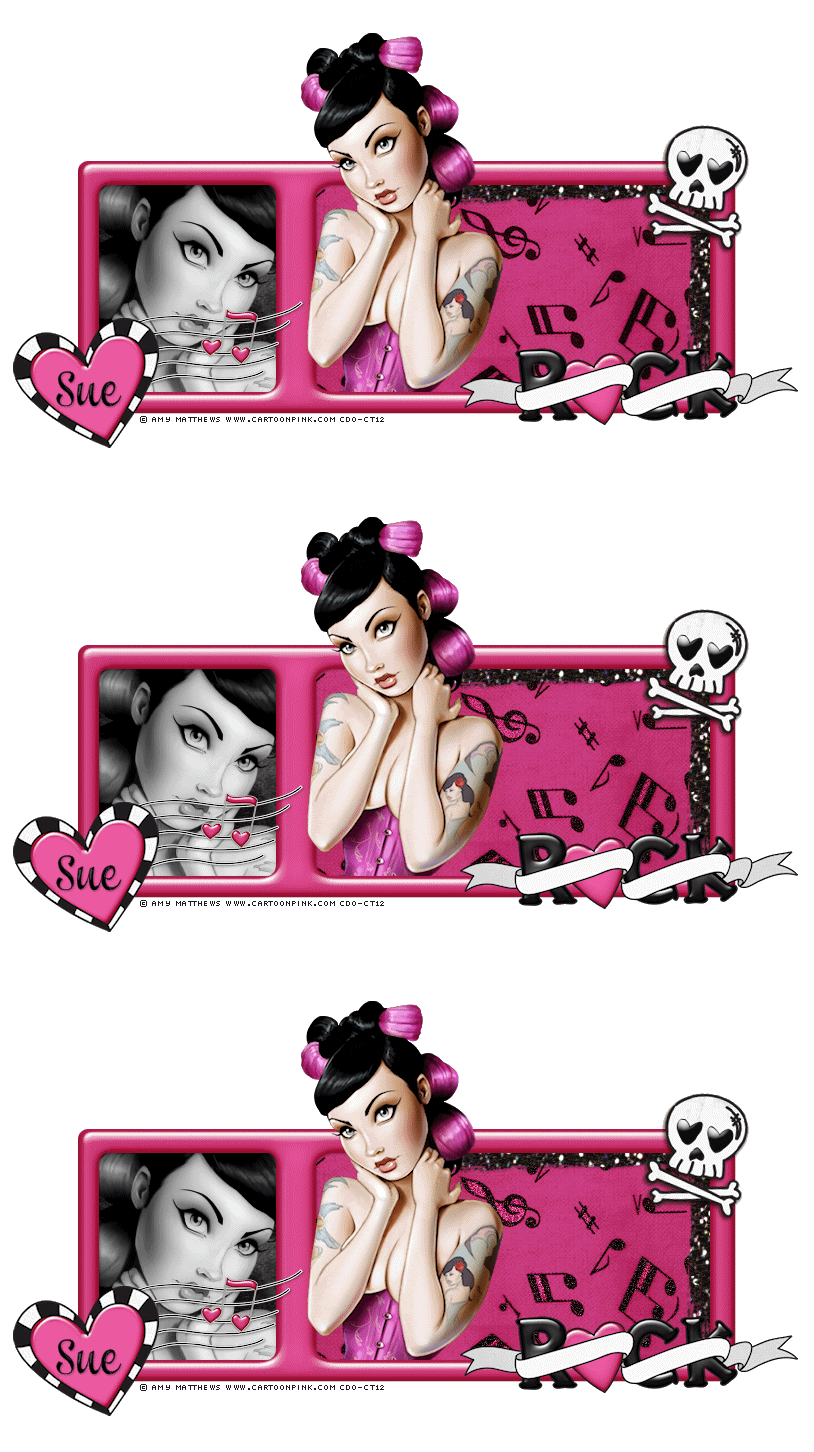
This tutorial was written by me and for those
who have a good working knowledge of psp.
Supplies Needed
Tube of choice, I used Artwork by ©Amy Matthews at CDO.
Font of choice, I used Clipper Script Fat .
Scrap kit, I used (PTU) i [heart] rock by Designs by Sarah
at Pimp My Tags w/ scraps
Animation Shop
(optional)
Let's Begin!
New canvas 800 x 600.
Paste frame 2 and center in canvas.
Using selection tool set to rectangle draw out a selection
bigger than the right side of frames open area.
Invert and paste paper pp6 and re-size by 70 or so and hit delete.
Do the same this on the left open area but use paper pp4.
Paste the heart and music notes 1 elements and
re-size to size you like and place them to bottom left area.
Paste rock element - re-size and place to bottom right.
Paste tube and place where you like it.
Duplicate and move one beneath the frame and one on top.
Erase bottom area of top tube.
Paste large close up tube and mirror and crop to size of left open area.
Move this beneath the frame layer but above the black paper layer.
Colorize S-0, H-0.
Add name.
Add copyright info.
To Animate
Using your magic wand select the pick area of paper pp6.
Invert
Apply noise at 10.
Deselect and copy merge.
Paste into AS.
Back to psp and hit back arrow 2 times.
Apply noise again but change to 30.
Deselect and copy merge.
Paste into AS.
Back to psp and hit back arrow 2 times.
Apply noise again but change to 50.
Crop if needed.
Save.


No comments:
Post a Comment