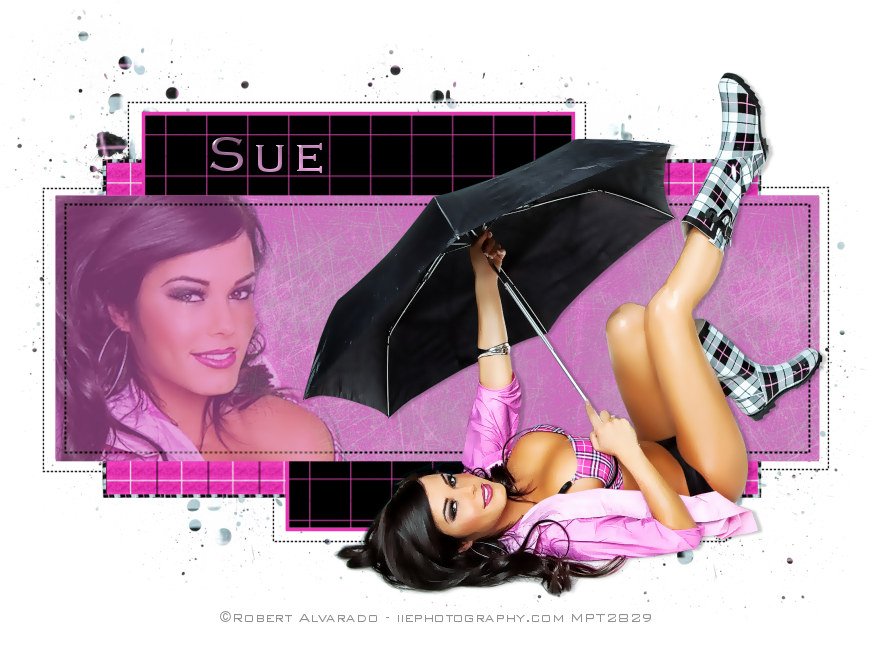
This tutorial was written by me and for those
who have a good working knowledge of psp.
Supplies Needed
Tube of choice, I used tube by ©Robert Alvarado at PTE.
Font of choice, I used Copperplate Gothic Light.
Tag Template, Temp # 5 from myself and you can get at Creative Misfits.
Optional Plug-ins, Eye Candy - Glass
Patterns, I made these.
Open my template and Shift D. Close original. Delete info layer.
Select the large white frame and float then add new layer and fill with color. I used #d465c1.
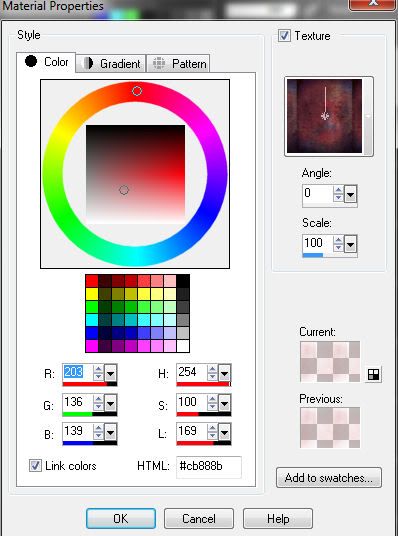
Add another layer and flood fill a lighter color with texture checked and your choice of texture.

Select none. Close original frame.
Paste close up tube and place where you like. I rotated mine.
Crop anything outside the rectangle.
Lower opacity to around 50.
Using magic wand select the black area of the bottom frame and add new layer and fill with pattern 2 at size 17.
Keep selected and go back to original frame and invert then float.
You should have the white outline floated now. Add new layer and fill with color or pattern of choice. I used section of boot from my tube.
Do the same steps for the small frames using pattern 1 and #e834b2 for outline.
Select splatter layer and float and add new layer and fill with pattern.
Paste tube and place where you like and give drop shadow.
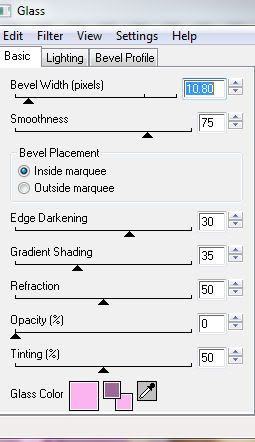
For name I used #fcb3f0 then applied EC - glass

Add copy right info.
That's it!

No comments:
Post a Comment