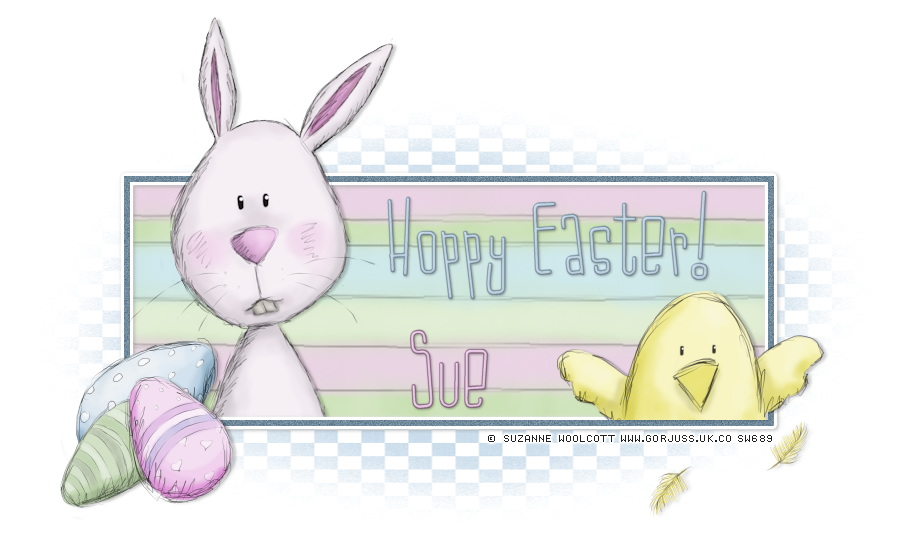
This tutorial was written by me and for those
who have a good working knowledge of psp.
Supplies Needed
Tubes of choice, I used Easter Bunny Pack from Suzanne Woolcott.
Font of choice, I used LDJ Jilly Nilly.
Mask, I used #109 by Design by Vaybs.
Optional Plug-In, I used EyeCandy - Gradient Glow.
Let's Begin...
Open tube pack and minimize for now.
New canvas 650 by 250.
Flood with color of choice. I used #657e90.
Float and modify - contract by 6.
Hit delete.
Add noise at 15 and then apply gradient glow at 5,50,100 white.
Add drop shadow.
Add new layer and fill with color or pattern. I used pattern from tube pack and just duplicated it to fit the length.
Re-size canvas so you have room to work. Crop when done.
Add new layer and fill with color of choice and move it to bottom.
Apply mask and merge group. Using pick tool (click letter K) fit the mask how you like it.
Add bunny tube and place where you like it then duplicate and move one below frame layer and one above.
On the one above erase bottom of bunny so looks like under frame. Use mine as example if needed.
Add eggs and chick and place how you like. Add feathers. I colorized mine to match the chick.
Add drop shadow to layers.
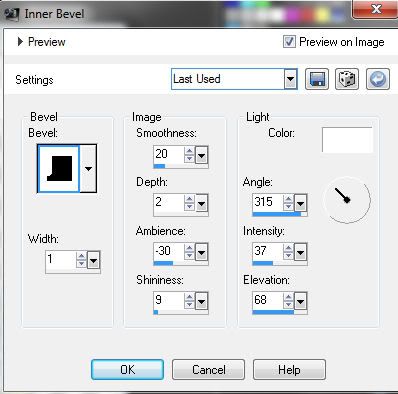
Add text "Hoppy Easter" and apply inner bevel...
Add drop shadow.
Add name and repeat same steps.
Add copy right.


No comments:
Post a Comment