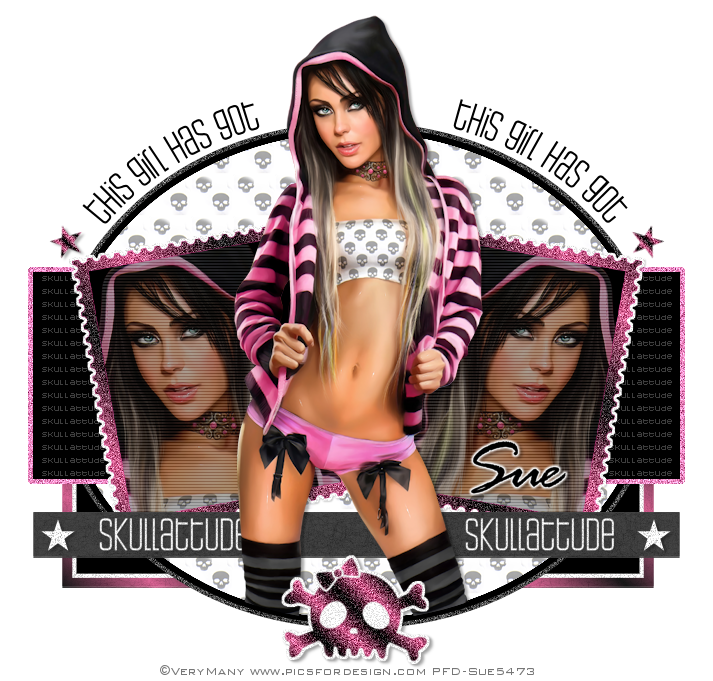
This tutorial was written by me and for those
who have a good working knowledge of psp.
Supplies Needed
Font of choice, I used Rage Italic LET.
Template, Collab #2 from Sylvia & Kirsten.
Plug-ins, I used PhotoEffex - Scanlines and EC 4 - Gradient Glow
Both are optional.
Let's Begin!
Open template and shirt D. Close original.
Canvas size 800 by 800. (crop when done)
Delete the rectangle layers (in middle top)
You will need to do the same steps for each layer of template
so I will explain the steps....
Select layer - float - add new raster layer - flood fill
with color of choice - add texture or
noise - deselect and close original layer.
Use my tag as a reference.
The noise I used was set at 50 Gaussian - Monochrome checked.
I used Texture - Fine Leather
black, angel 30, blur 0, trans. 250, # of furrows 41, length 6
I used Scan lines (default) on middle rectangle tubes x2 and lower opacity to 70.
I made a gradient for frame, bottom rectangle, skull and stars
just select 2 colors and change angle to 45 and repeat to 7 linear.
I changed the hue / saturation to 0 on my text bg layer.
For the large oval I cropped a section from my tube and used as a pattern.
Paste tube and crop any that is needed.
Add name - I also added a gradient glow to mine so it would stand out more.
Add drop shadows and copyright as well.
That is it - I hope you were able to follow along okay.


No comments:
Post a Comment