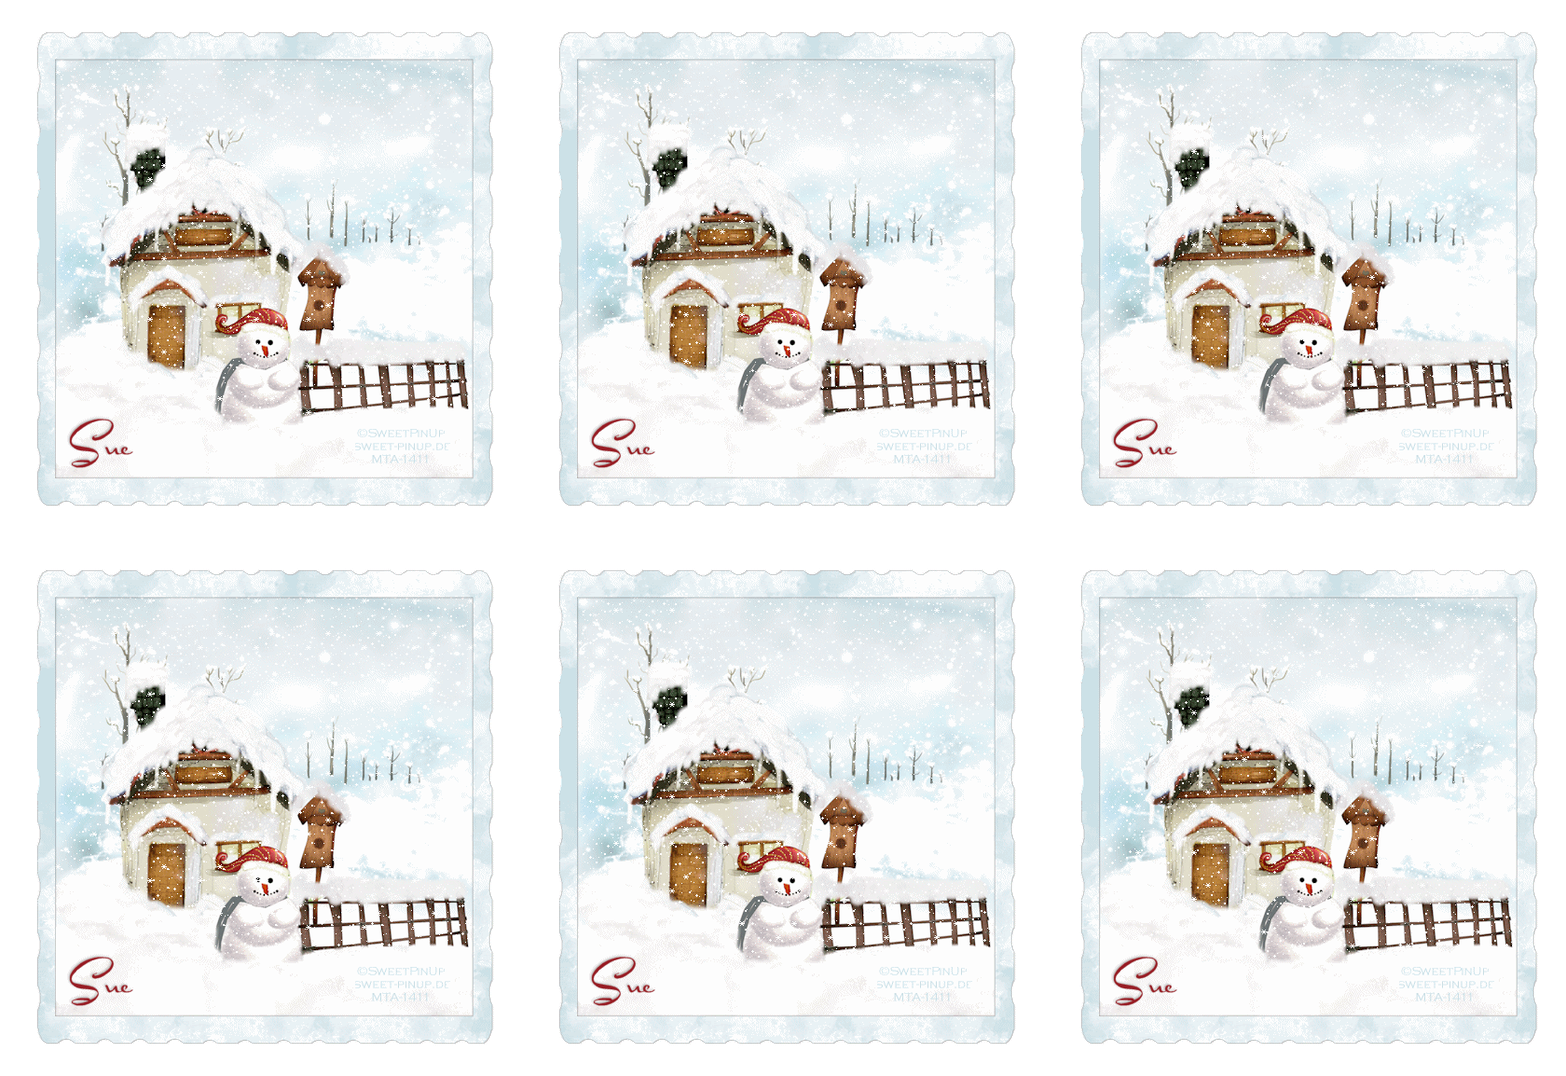
This tutorial was written by me and for those
who have a good working knowledge of psp.
Supplies Needed
Scrapkit, I used Winterzeit Scrapkit by ©SweetPinUp at MTA.
Font of choice, I used DorisDay.
Frame, I made.
Let's Begin!
Open my frame and shift D.
Close mine.
Using magicwand click inside frame.
Go to selections - modify - expand by 10.
Open scrap kit and select SPU-PTU-2550Win-BG2
Add new layer and paste into layer.
Select none.
Back to scrap kit and select snowman (I used SPU-PTU-2550Win-10.png)
Paste snowman and place where you like.
I wanted mine to look like he was in the snow so
I deleted a little from bottom.
Add drop shadow.
Place any other elements you would like.
Add name. I used #971c23.
Add scrap info.
Once you have tag how you like it
then close frame layer and copy merge
and paste into AS.
Ctrl L until you have 10 frames.
Open snow and Ctrl A.
Drag snow to tag and place where it fits.
It's okay if it's outside bg as you still have frame to go on top.
Once you have snow where it goes then go back to
psp and copy frame layer.
Paste frame into AS and ctrl L so you have at least 10 frames.
Ctrl A and drag frame to tag and place where it fits.
Save and That's that!
=)


No comments:
Post a Comment