

This tutorial is written for those that
have a working knowledge of PSP.
You will need...
PSP
I used X
Animation Shop
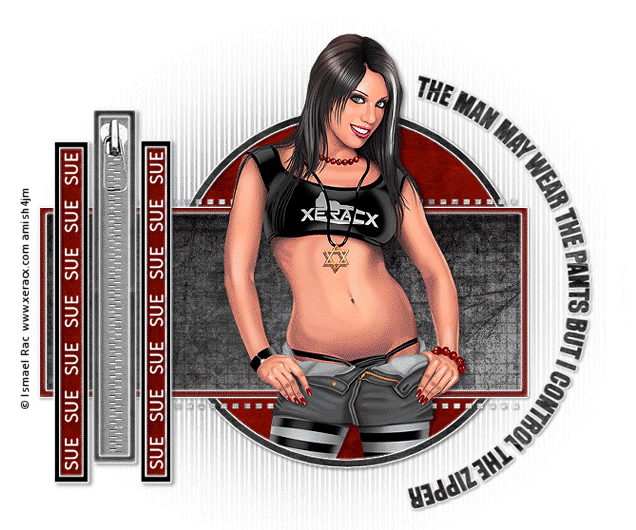
Tube of Choice
I used (IRPG-AJ) Tube from Ismael Rac
You can find him HERE.
Please Do Not Use Same Tube
Without Purchasing It.
Scrap Kit
I used papers from a kit by
Ziggle Designs called SK8R
You can get it HERE.
Any Papers or Color Pallet will work.
Font
Calibri
PTU so can't supply
Filters Used
Eye Candy - Gradient Glow
Template
I used Template #11 from Tracy F. Designs
You can get it HERE.
My Supplies
masks, wordart, and zipper animation
Okay, let's get started.
Remember to save often!!!
Open Supplies and Minimize
Open Template
Shift D
Close Original
Delete Info Layer
New Raster Layer
Flood Fill with White
Send to Bottom
Paste Paper of Choice
Apply Mask EBDmask52
Merge Group
Apply Mask 20 20
Merge Group
Select Circle Layer
Float - Invert
Paste Paper
Hit Delete
Select None
Select Frame of Cirlce Layer
Float - Invert
Paste Paper
Hit Delete
Select None
Effects - EC Gradient Glow
3 - 25 - 100 - white
Drop Shadow
Repeat this for
All Layers of Template
Remember that Gradient Glow
is for Frame Layers
Once that is done
Paste Tube
Crop Excess
Add Name
To Write on Curve
if not using wordart I supplied
Chose Color or Paper for
Foreground and Background
Using the Eclipse Tool
Make a Circle
bigger than the one we already have
Keep Circle as a Vecter
Click Text Tool
Click the right center of circle when
you see the A on a curve
and write saying of choice.
In Layers Pallette Click the Plus Sign
for the Circle and Text Layer
Hide the Circle
Convert to Raster
Add Gradient Glow
Add Copyright
Edit
Copy - Merged
Paste into AS
Crtl L
until you have 20 layers
Open Zipper Animation
Crtl A
Drag to Tag
and place like mine.
Save
That's it!!!!
Hope you were able to follow along and enjoy the tutorial.
No comments:
Post a Comment