

This tutorial is written for those that
have a working knowledge of PSP.
You will need...
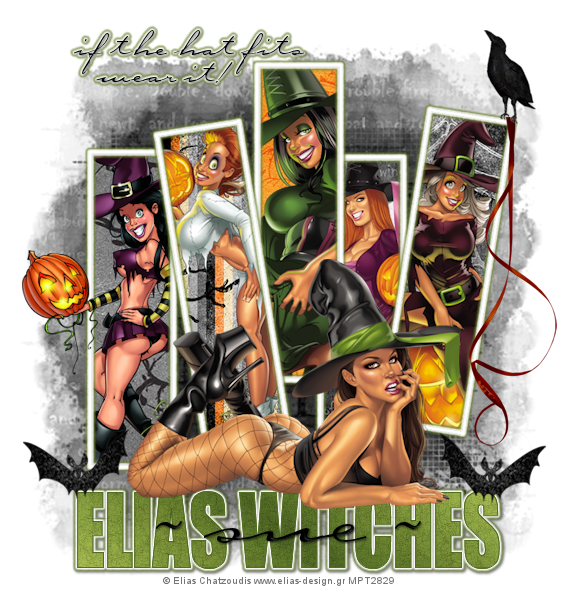
Tubes of choice, I used artwork by Elias Chatzoudis
and you can purchase his work HERE.
Don't use same tube unless you purchase it.
Font
Carpenter Script
(name and saying text)
Impact
(Elias Witches text)
Mask
Becky Mask22
You can get it HERE.
Filters Used
Eyecandy 5 Impact - Gradient Glow
Scrap Kit
I used (PTU) Halloween Scrap from
Oopsie Daisy called Thrill and Chill
You can get it HERE.
Okay, let's get started.
Remember to save often!!!
New Canvas
650 x 600
Flood Fill White
Paste Paper of Choice
Apply Mask
Merge Group
Foreground - White
Background - Null
Eclipse Tool - Rectangle
Width 5
Draw Rectangle
Aprox. 6 squares wide and 15 long
Convert to Raster
Duplicate so you have 5
Rotate 2 of them 9 degrees Left and Right
Use mine as a guide if needed.
Eyecandy 5 Impact - Gradient Glow
These Settings

Magic Wand
Select inside each rectangle
Modify - Expand by 2
Invert
Paste Paper
Hit Delete
Paste Tube and Place
Hit Delete
Select None.
Do This For All Five Rectangles.
On the Left Frame I Made Part of Tube
Outside Frame but depending on your tubes do as you like.
Place Elements of Choice.
Text - Elias Witches
(or your choice depending on tubes)
Impact Font - Caps
Gradient - Foreground / Background
Rotation 36 Repeats 1
Linear
Colors
#495d20 and #849c3e
Convert to Raster
Select - Float
Effects - Fine Leather
These Settings

Eyecandy 5 Impact - Gradient Glow
(same settings as above)
Type and other text you like and do the same as above.
Add Name
Add Drop Shadow To All Layers.
Add Copyright.
Save as desired.
Hope you enjoyed my tutorial.
wonderful tut, love making my tags.. i have to try more of your awesome tags, hugs, karen
ReplyDeleteI like veru much your tuts, I tried this one :D
ReplyDelete