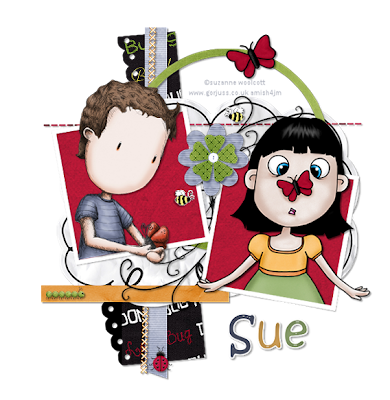
This tutorial is written for those that
have a working knowledge of PSP.
You will need...
Tube of choice, I used artwork by Suzanne Woolcott
Pack 4 and 6
and you can purchase her work HERE.
Don't use same tube unless you purchase it.
Font
Kristen ITC
Filters Used
(all are optional)
Eyecandy 5 Impact - Glass
Eyecandy4000 - Gradient Glow
PhotoEffex - Scanlines
Template
You can get it HERE.
Scrap Kit
I used this totally adorable scrap kit from
Oopsie Daisy called Don't Bug Me.You can get it HERE .
Okay, let's get started.
Remember to save often!!!
Open template and shift D and close original.
Go to image / canvas size / 700 x 700
This is a pretty simple tutorial and you will be doing the same thing for each layer.
Select Each Layer / Float / Invert
Paste Paper of Choice
Hit Delete
Select None.
On Layer 2 and 10
I did as above and then
PhotoEffex - Scanlines
default settings
Once All Layers are Done
Paste Journal Paper
Place right above layer 2.
Add Elements of Choice
Add Tubes
Crop Excess
Add Copyright
Add Name
Eyecandy 5 Impact - Glass
Clear - no reflection
setting
Eyecandy4000 - Gradient Glow
3 - 25 - 100
white
Add Drop Shaddow
To All Layers
Save as desired.
Hope you enjoyed my tutorial.

No comments:
Post a Comment