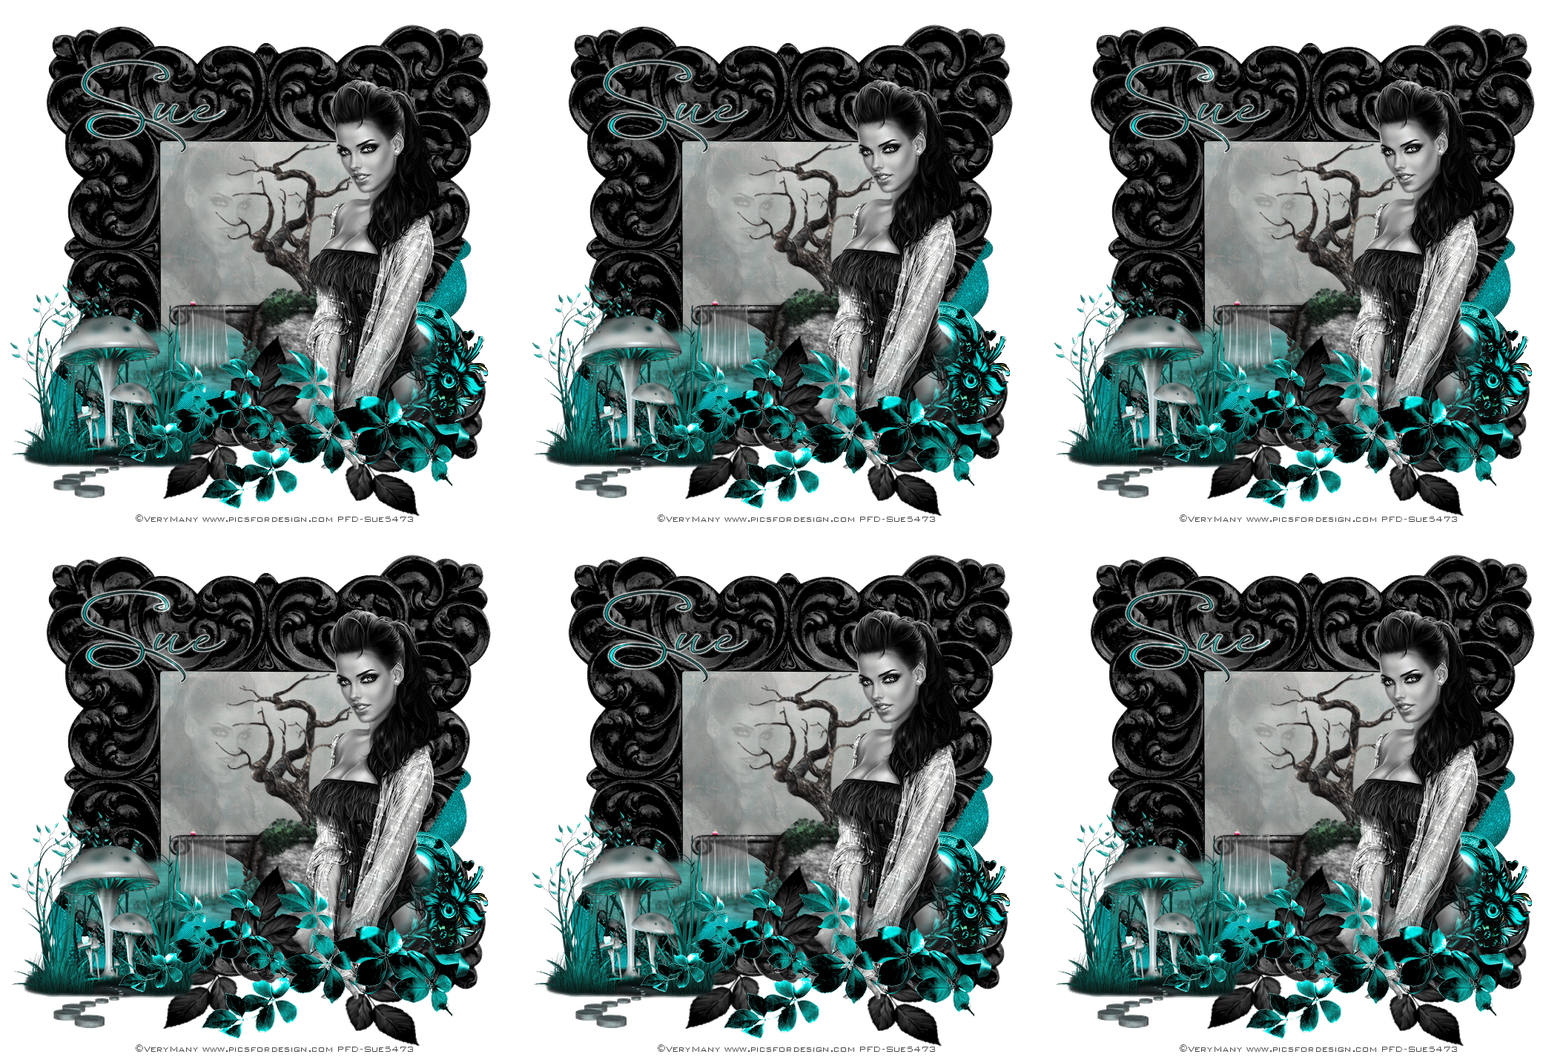
This tutorial was written by me and for those
who have a good working knowledge of psp.
Okay, let's get started
Remember to save often!!!
Resize elements as desired depending on your tag size preference
Open 800 x 800
Crop before saving
Resize elements as desired depending on your tag size preference
Open 800 x 800
Crop before saving
Use my tag as a guide if desired
Paste frame e19
Select area of frame larger than opening
Invert
Paste paper 4
Delete
Colorize H-0, S-0
Move below frame
Paste mirrored tube and move to left side
Delete
Select none
Lower opacity of tube to 15
Now above frame layer
Paste tree and waterfall element (34)
Paste leaves (61) and (65) however you like or like mine are
Paste mushrooms (46) and move to left corner at bottom
Paste tube
I grey scaled my tube
Using eraser tool set at 30 opacity erase bottom parts of tube so it looks as if she is in foliage of tag
Add any other elements or mask or whatever you desire
Add CR info
Crop the waterfall area
Paste into AS
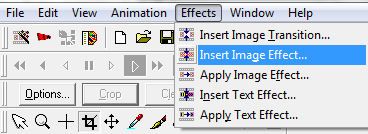
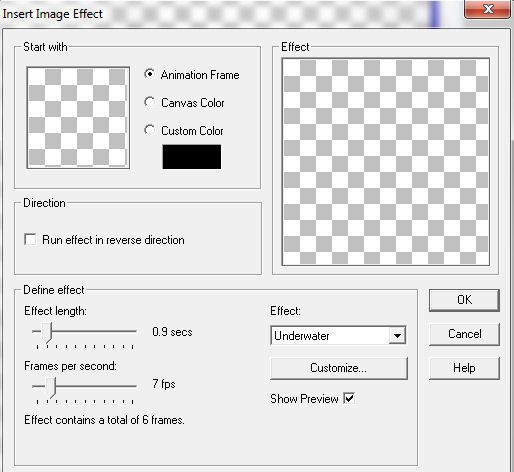
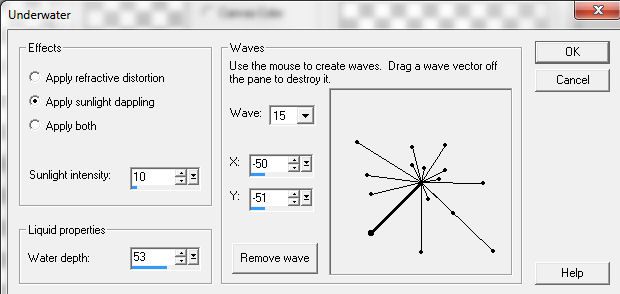
Apply Image Effects - Underwater
Now back to psp close everything above waterfall layer
Copy Merge
Paste into AS
Ctrl L until you have 10 frames
Drag waterfall and place where it fits on tag
Back to PSP and close everything open except the waterfall layer and open the other layers
On the waterfall layer lower opacity to 40
Copy Merge
Paste into AS
Ctrl L until you have 10 frames
Ctrl A and drag to tag
Line up waterfall
Back to PSP
Add name and copy
Paste into AS
Apply same steps as you did for waterfall
and place on tag where you like
Save as Gif


No comments:
Post a Comment