

This tutorial is written for those that
have a working knowledge of PSP.
You will need...
Tube of choice, I used artwork by Elias Chatzoudis
and you can purchase his work HERE.
Don't use same tube unless you purchase it.
Font
Ma Sexy
Filters Used
Eyecandy4000 - Gradient Glow
Scrap Kit
Dreamy scrap kit by Jen / Country Style Designs.
http://countrystyledesigns.com/store
Template
Made by Beth at Creative Misfits
10th one down
Mask
Okay, let's get started.
Remember to save often!!!
Open template and shift D and close original.
Go to image / canvas size / 700 x 700
Delete Copyright Layer
I merged all my squares together
and all my frames together
so it was easier for me to work with.
This is totally up to you which way is easier individually or all together.
Select Squared Layer / Float / Invert
Paste a paper from kit.
Hit Delete
I used paper 9
Select None.
Select Frame Layer / Float / Modify / Smooth by 10
Paste a paper from kit.
Hit Delete
I used paper 10
Select None.
Select Lips Layer / Colorize
to match your tube
Paste Tube
Duplicate / Mirror
Magic Wand / Select a Square
Invert
Move Duplicated Tube To Square
Place as liked
Hit Delete.
Select None.
Follow this step untill all squares are filled in.
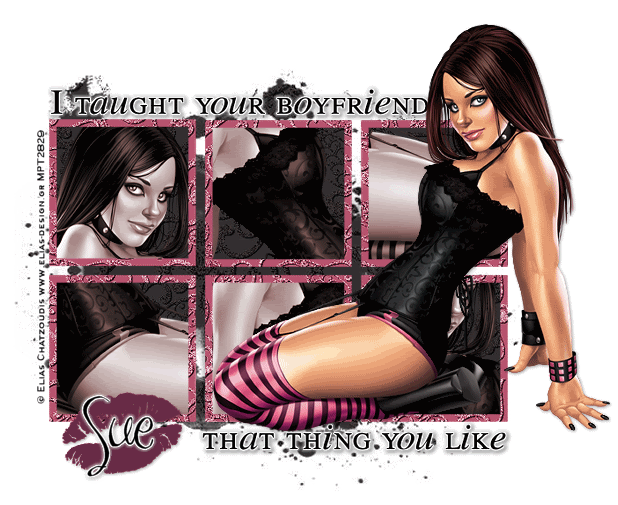
Look at my example for guidence if needed.
Merge Tube Squares Together
Colorize
I used 3 / 43
Select Word Layer
EyeCandy / Gradient Glow
3 / 25 / 100
White
Place Original Tube Layer Where You Want It
Resize if desired.
Add Name
Gradient Glow
Click White BG Layer in Layers Pallet
Edit / Paste
Paper of Choice
I used paper 9
Layers / Apply Mask
Merge Group
Add Name
Convert to Raster
Add Gradient Glow
Add Drop Shadow To All Layers.
Add Copyright.
Save as desired.
To Animate
I used paintbrush on a new layer and colored eye in with flesh color
on another layer I airbrush eyeshadow
merged those two layers
Edit / Copy Merge
Paste in AS
Close Eyeshadow Layer
Edit / Copy Merge
Paste in AS
Before other Layer
On Open Eyed Layer
Right Click / Frame Properties
200 or as desired.
Hope you enjoyed my tutorial.
No comments:
Post a Comment