
Friday, December 25, 2009
Thursday, December 17, 2009
Cold Outside (FTU)

This tutorial is for those with a good working knowledge of psp.
Supplies Needed
Tubes of choice, I used artwork by Suzanne Woolcott.
Scrapkit, "Baby it's cold outside" from Ivy's Inspiration.
Font of choice, I used Adobe Myungjo Std (PTU).
Mask, I used 157 from Insatiable Dreams.
Plug-In : Optional
Eye Candy 4000 : Gradient Glow
Let's Begin!
Open supplies and resize frame by 35% and tag by 25% and paper by 50%.
New Canvas 700 x 600.
Paste paper of choice and apply mask. Merge group.
Make selection around frame part with selection tool.
New raster layer and flood fill with a color of choice or use a pattern as I have.
I made the pattern from the tag by selection a
part of the tag and using it as a pattern in my pallette.
Paste tube of choice, duplicate and move one above frame and one below frame.
On the top tube layer erase the bottom of tube so it looks
like it's below frame but head is still out of frame.
Paste tag and rotate it using pick tool and duplicate it and move one
below frame layer and the other above frame.
Erase part of top layer so it looks like it's hanging on string.
Add name and gradient glow. To get your name in a row going down change
the Leading until it looks good.
Mine was -0.444 but each name is different so play with it until ya like it.
You can find leading at the top right next to kerning and tracking in the Tool Option Pallette.
If you don't have yours showing already you can
get it by going to View - Palletes - Tool Options or by hitting F4
Add dropshadow to all layers.
Add copyright.
You are done!
Wednesday, December 16, 2009
Silver Bells (FTU)

This tutorial is for those with a good working knowledge of psp.
Supplies Needed
Image of choice, or one I used by Sugargrl14.
Scrapkit, FTU "Silver Bells" from Ivy's Inspiration.
Font of choice, I used VIP (PTU).
Mask, I used 158 from Insatiable Dreams.
Wordart
Plug-In : Optional
EyeCandy 4000 : Gradient Glow
Let's Begin!
Open cluster frame and resize by about 25%
Adjust - Sharpen More only apply once.
Selection tool and select around frame area then invert it and paste image and hit delete.
I cropped my bird so it was out of frame so if you want it like mine
duplicate image and then just use lasso and delete around bird.
Paste paper and apply mask. Merge group.
Paste wordart I supplied or make your own by drawing a line
with pen tool and then appling text on curve.
Just remember to hide the line when you are done.
Add name and apply gradient glow at 3, 25,100, white.
Add copyright.
Easy Peasy!!!
Monday, December 14, 2009
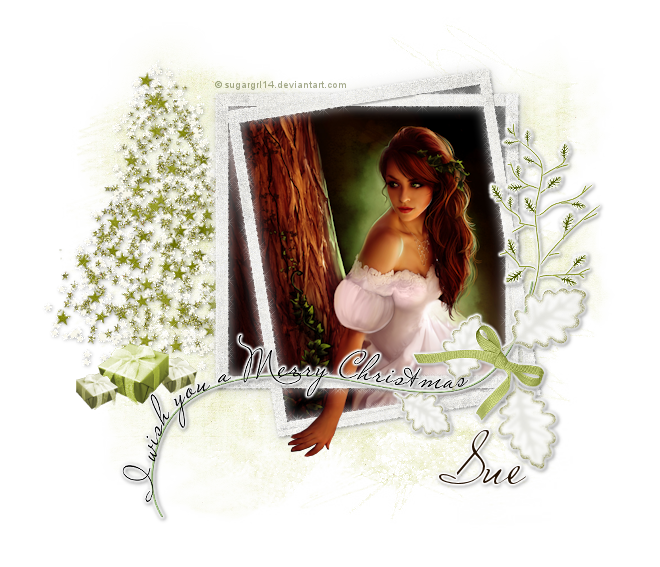
Christmas is all around (FTU)

This tutorial is for those with a good working knowledge of psp.
Supplies Needed
Images of choice, I used artwork bySugargrl14, which I supplied.
Scrapkit, FTU "Christmas is all around" from Malina.
Font of choice, I used Miss Le Gatees (PTU).
Mask, I used GemsMask122.
Plug-In : Eye Candy 4000 : Gradient Glow
Xenofex : Constellation
My Supplies.
Let's Begin!
Open New Canvas 700 x 600
This will give you room to move around
but don't forget to crop/resize when done.
Open supplies and resize - I resized mine by 25 for most items.
Paste the word art on your canvas and center it in middle.
Paste the frame and move below word art layer and to the right more than center. Use my tag as a guide.
Duplicate and on top layer add Xenofex - Constellation with these settings....

Lower opacity to 40.
Paste the tree and place to left below frame layer.
I added Xenofex - Constellation to my tree using same settings as above.
Paste pack and duplicate and resize it by 60 % and duplicate it again.
I also colorized my packages to match better.
I used Hue 47 and Saturation 110 and 60. Just play with it until you like it.
I added a leaf and flipped it and placed it under the wordart layer so it looks like it belongs.
I did this because I was going to use it for my name
but decided I liked how I ended up doing my name better, so just merged leaf with wordart layer, then added a gradient glow to it.
Using 3, 25,100, white.
Paste paper of choice and apply mask.
I used paper1.
Merge group and then apply Xenofex - Constellation with same settings as before.
Select your lasso tool and select around the frame but not outside it.
Invert and paste image and hit delete.
I wanted the hand to come out of frame so I roughly tubed girl image so I could have it like mine is.
I supplied my "tubed" image if you would like to do this as well.
Just place on image layer and fit it where it lines up
and draw with lasso tool around hand part and invert and hit delete.
Add name and gradient glow to it.
Add copyright.
That's it - all done!
Subscribe to:
Posts (Atom)