

This tutorial is written for those that
have a working knowledge of PSP.
You will need...
Tube of choice, I used artwork by Suzanne Woolcott
and you can purchase his work HERE.
Don't use same tube unless you purchase it.
Font
Do I like Stripes?
A&S Wizard
Filters Used
Eyecandy4000 - Gradient Glow
PhotoEffex - Scanlines
You can get it HERE.
Okay, let's get started.
Remember to save often!!!
New canvas size / 700 x 700
Using rectangle preset shape draw out two rectangles like mine.
Convert for each one.
Using only foreground line style dash out line the inside of the right rectangle.
Select Frame Layer / Float / Modify / Smooth by 10
New Raster Layer /Flood Fill with color (s).
Effects - Texture - Fine Leather
Black , Angle 239 , 10 , 250 , 139 , 6
Select None.
Select Frame BG Layer / Float / Modify / Smooth by 10
New Raster Layer / Flood Fill with different color
Effects - Texture - Fine Leather
Black , Angle 239 , 10 , 250 , 139 , 6
Select None.
Select Rectangle Layer
Do Same Steps as Above
Select Dash Layer / Float / Modify
New Raster Layer /Flood Fill with a color.
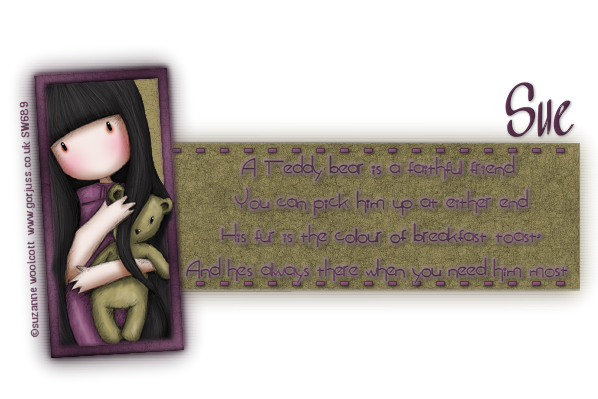
Add Tube
Add Saying to Rectangle Layer
A Teddy bear is a faithful friend
You can pick him up at either end.
His fur is the colour of breakfast toast,
And he's always there when you need him most.
I Added Gradient Glow - Thin Setting
Make sure White BG Layer is closed
Edit / Copy Merged
Paste as a New Layer
Place Below Original Layers
Blur / Gaussians Blur
4
Repeat once more
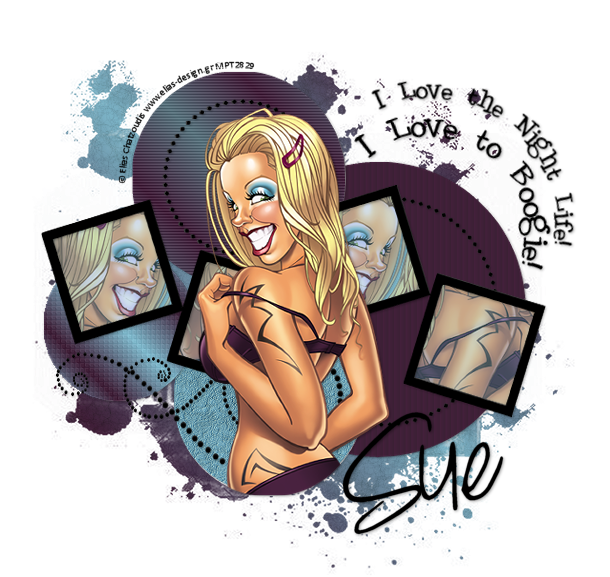
PhotoEffex - Scanlines
Default
Add Name
Add Drop Shadow To All Layers.
Add Copyright.
Save as desired.
Hope you enjoyed my tutorial.

