

This tutorial is written for those that
have a working knowledge of PSP.
You will need...
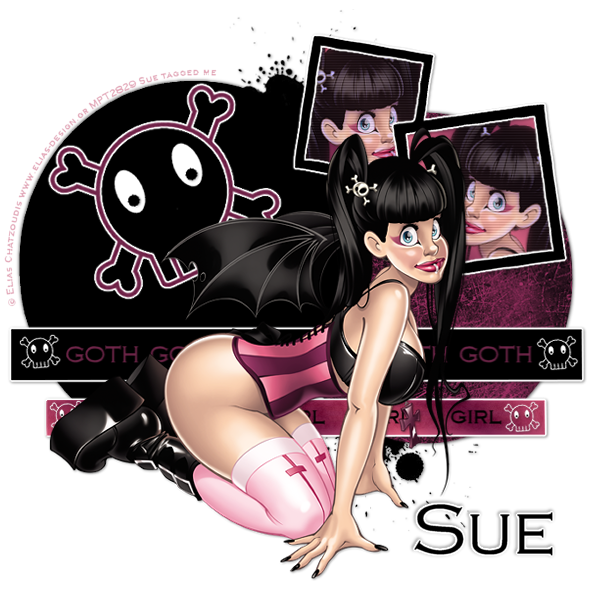
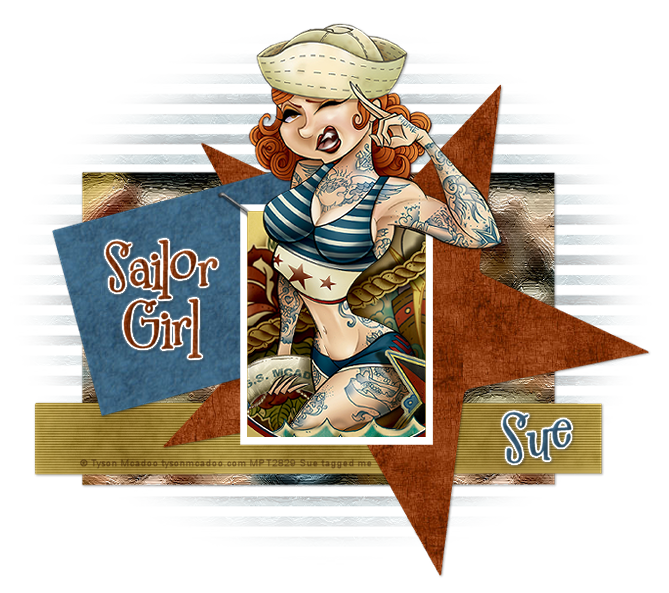
Tube of choice, I used artwork by Elias Chatzoudis
and you can purchase his work HERE.
Don't use same tube unless you purchase it.
Font
Copperplate Gothic
PTU Font - Sorry Can't Supply
Filters Used
Eyecandy4000 - Gradient Glow
Xero - Porcelain
PhotoEffex - Scanlines
You can get it HERE.
Pattern and Template
You can get it HERE.
Okay, let's get started.
Remember to save often!!!
Open template and shift D and close original.
Go to image / canvas size / 700 x 700
Select Right Circle Layer / Float / Modify / Smooth by 10
New Raster Layer /Flood Fill with pattern.
Select None.
On Long Rectangle Layers
I used 2 colors / Gradient / Effects / Fine Leather
On Bottom One
Black on Top One
EyeCandy / Gradient Glow
3 / 25 / 100 - White
On Both
Select Frame Layer / Float / Modify / Smooth by 10
New Raster Layer /Flood Fill with color
Select None
Add Gradient Glow
Select Frame Background Layer / Float / Modify / Smooth by 10
New Raster Layer /Flood Fill with color
Paste Tube
Duplicate Twice
Mirror one of them
Lasso around Right Frame Background
Selections - Invert
Position Mirrored Tube and Hit Delete
Do the same for Left Frame
Select Top Framed Tube Layer
Merge Down
So Both Layers Are Now One
Plugin / Xero / Porcelain
Default Settings
PhotoEffex / Scanlines
Default Settings
Lower Opacity to 90
Place Original Tube Layer Where You Want It
Select Scull Layer / Float / Modify / Smooth by 10
New Raster Layer /Flood Fill with color
Select None
Gradient Glow
Add Text Of Choice To Rectangle Layers
Add Name
Gradient Glow
Add Drop Shadow To All Layers.
Add Copyright.
Save as desired.
Hope you enjoyed my tutorial.
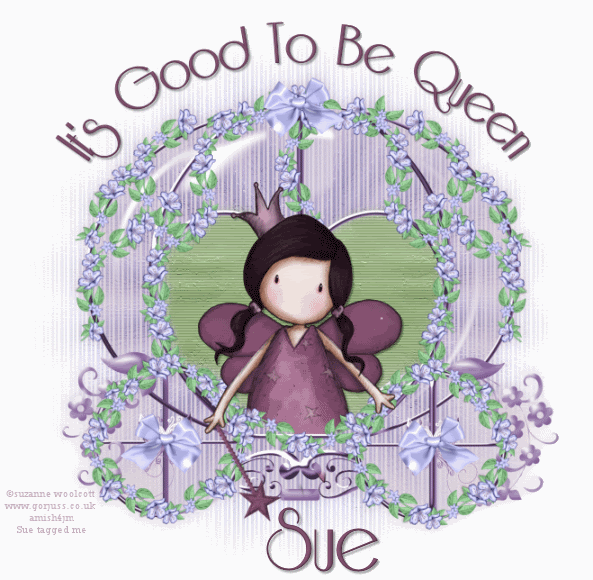
Another Example


